Showing posts with label guest bloggers. Show all posts

Thursday, December 9, 2010

Turkey and Spinach Lasagna, From Return Guest Blogger

Returning Guest Blogger…Nicole!  And here she is (my comments in italics):

I basically never cook.  Ever. But I  got in the mood for some homemade lasagna and also secretly wanted to impress my Gentleman Friend. So after dusting off some cookbooks (just to clarify, Nicole did not use any cookbooks for this meal) I decided on this pretty healthy version of a favorite comfort food.
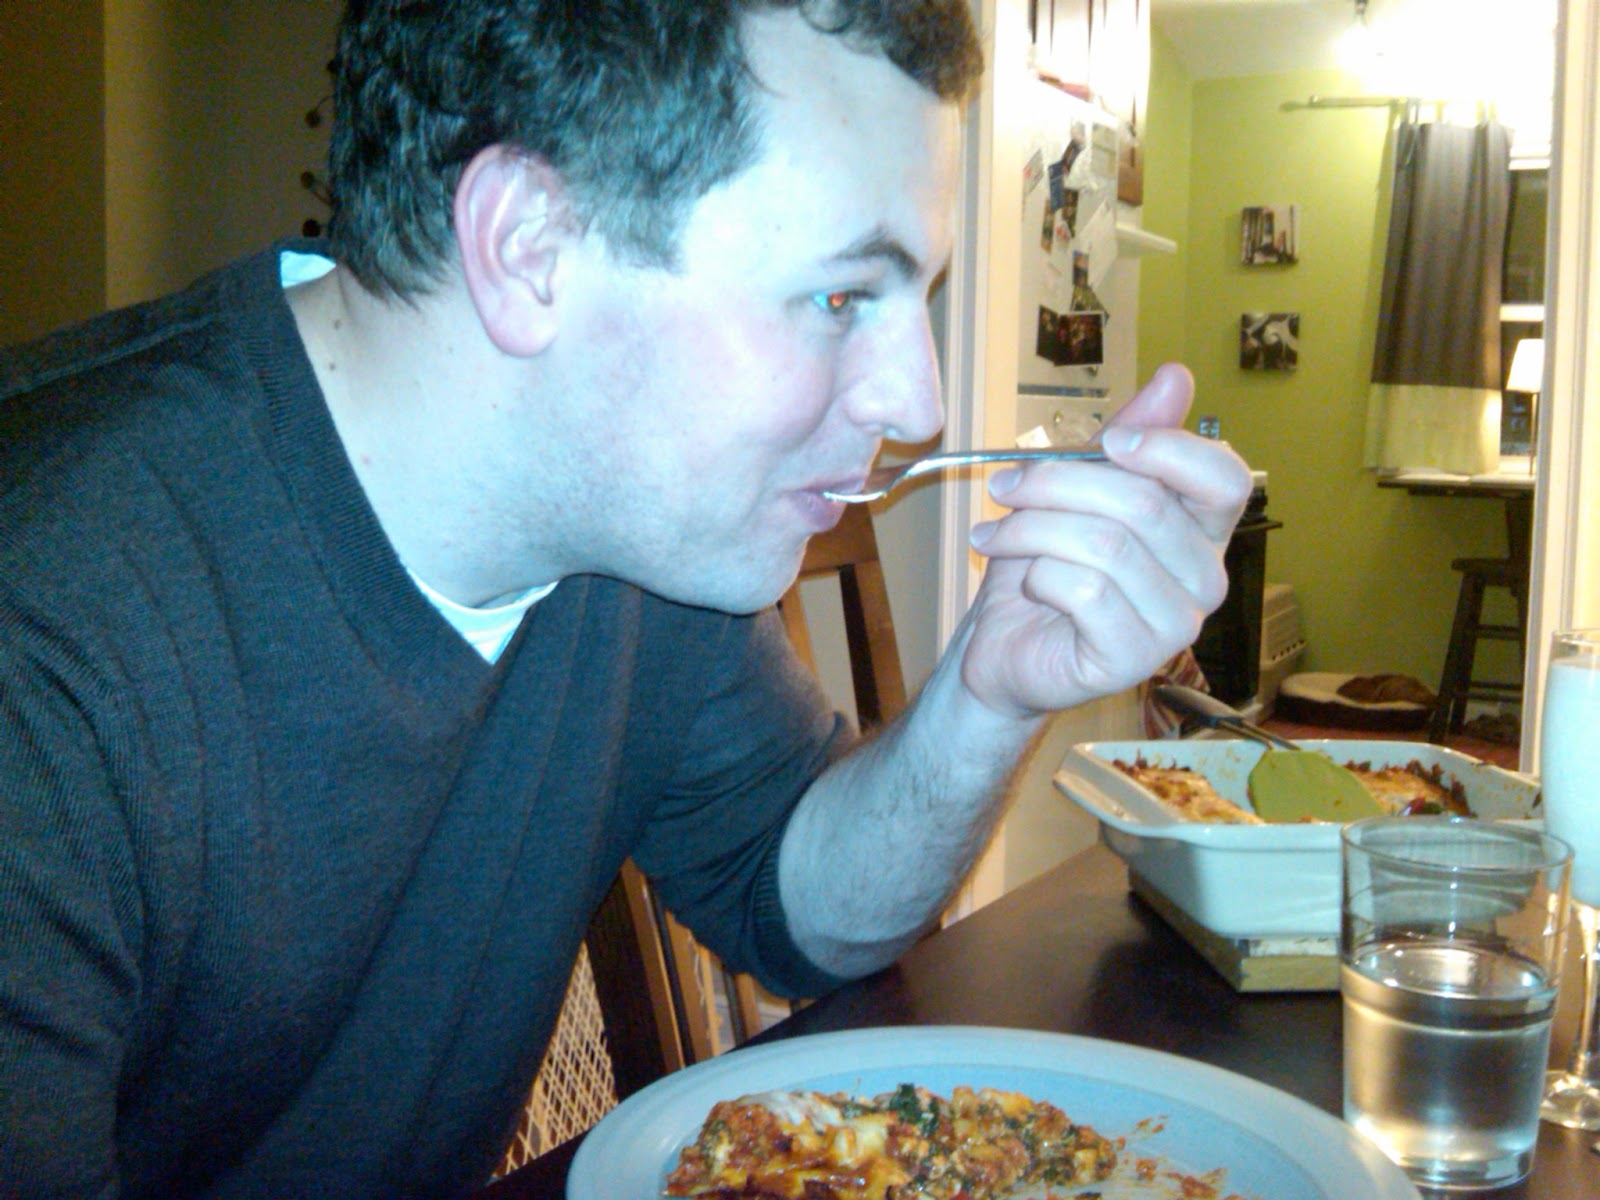
Gentleman Friend...looks impressed to me!
I’ll admit it; I had some anxiety over this endeavor. I did everything I could to help the experience go smoothly. I went grocery shopping the night before, g-chatted with Shanon about all my questions and allowed plenty of time to prep. At least double what was suggested in the recipe.  I’m slow.

Evidence of Preppage
Here is what I learned about making this lasagna:

-Dealing with the lasagna noodles after they are cooked is tricky.  Mine kept breaking. Shanon had the good tip to put them in a bowl with olive oil to keep them from sticking together which helped.  It might have worked even better to lay them flat on wax paper with olive oil.

-You don’t need Emeril’s “Essence”. I left it out and it was still amazing.  (the "Essence" is not included in the recipe below per Nicole's request)

-If you are about to put it in the oven for 45 minutes and realize you don’t have any aluminum foil to cover the pan-just use a cookie sheet instead.

-I split this recipe in half and didn’t have enough of everything to do as many layers as the recipe called for. It still turned out (amazing).

-Be generous with the mozzarella cheese topping on the top.


Turkey and Spinach Lasagna
slightly adapted from Emeril Lagasse via Food Network

12 whole-wheat lasagna noodles
1 tablespoon olive oil
1/2 cup chopped onion
1 chopped red pepper
1 pound ground turkey breast, white meat only
1/2 pound hot Italian turkey sausage
1 teaspoon red pepper flakes
2 teaspoons chopped garlic
3 1/2 cups prepared marinara sauce
3 cups shredded part-skim mozzarella cheese, divided
2 cups part skim ricotta
2 cups thawed and drained chopped frozen spinach
1/4 cup grated Romano
2 egg whites
1/2 cup chopped basil leaves
1/4 cup chopped fresh parsley leaves
1/4 teaspoon black pepper
1/4 teaspoon salt

Preheat oven to 350 degrees F.

In a large pot, bring several quarts of salted water to a boil. Add noodles and cook until very al dente, 7 minutes. Remove from water and place on a towel lined baking sheet.

Place the olive oil, onion and red pepper in a large saute pan over medium-high heat. Saute until the vegetables begin to sweat, about 5 minutes. Add ground turkey, turkey sausage, and garlic, stirring to combine until turkey cooks through, about 10 minutes. Add marinara sauce; bring to a boil. Reduce heat, and simmer 10 minutes. Remove from heat.

In a large bowl, combine 1 1/2 cups mozzarella and remaining ingredients and set aside.

Spray a 13 by 9-inch baking dish with cooking spray. Spread 1 cup turkey mixture in bottom of the dish and arrange 4 noodles over turkey mixture; top with 1 1/2 cups turkey mixture. Spread half of cheese mixture over turkey mixture. Repeat layers, ending with the remaining turkey mixture.

Cover and bake for 45 minutes. Sprinkle with remaining 1 1/2 cups mozzarella cheese, and bake, uncovered, for 20 minutes.

Let lasagna stand 10 to 15 minutes before serving.

(Servings: 8, Prep time: 30 min., Cook time: 45 min., Difficulty: Easy)


foodforscot Ratings:

Nicole (taste):  9/10
Megan (taste):  9/10
Effort:  4/5
Dishwashing Effort:  4/5

Friday, August 6, 2010

Gups' Blueberry Pie

A special guest blogger.  Gups!

Gups is actually my bff Megan.  We have a long evolution of nicknames for each other.  And Gups is the latest and greatest.  I have known Megan since elementary school.  We didn't go to elementary school together, but she did occasionally make an appearance at MY pool with her friends, so I saw her there.  She wore goggles.  I also knew of her because we played in the same district basketball league.  She was tall and her mom was always doing her hair before games.  She pretty much exclusively sported the low pony.

Anyways, we become good, good friends through middle/high school, roomed together at an out of state, private college (all four years) and now that we live apart, we skype on a semi-non-frequent basis because she pretends like she is too busy for me.  Jk.  Jk.

She also contacts me often to discuss what she should make for dinner, lunch, breakfast, or her next dinner party.  I help her and she always takes my ideas and advice (after totally bashing the first 3-5 ideas I give her).  Haha...we are friends like that.
Bottom line, Gups is an excellent cook and baker.  Here is her contribution for blueberry pie:

PS:  Isn't she SOOOOOO cute (note:  she is the baby in the bonnet)?

I love blueberry pie. It's my second favorite of pies after pumpkin. When I was younger, we used to go blueberry picking by my cabin. It was one of my favorite things to do up North. We did it for a number of years until ticks got really bad and lyme disease and all that happened. Anyway, my mom would make an amazing pie with what we picked. We would also go to the blueberry festival in Lake George, MN. It's a three day festival that is all about blueberries - a blueberry pancake breakfast, a blueberry ball, a blueberry square dance. You can get blueberry pie, cobbler, crumble, jam, syrup, pretty much anything you want. Which I think is ok because blueberries are super good for you. Antioxidants and all that.


So, I've found that people tend to be intimidated to make their own crust. Every time I make a pie, at least someone says: "Whoa, you even made your own crust? Way to go, Martha." Truth is, it's not that hard at all. I just use the crisco recipe, and I think it tastes pretty dang good. I would say the main things to be cognizant of are to make sure you only add a little water at a time and keep testing it until it just forms together, and also to let the dough chill before you roll it out - it keeps it from sticking. Sometimes if I'm in a hurry or am impatient, I just stick it in the freezer for like 10 minutes while I prepare the insides of the pie.


Make sure when you split the dough that one is a little bigger than the other, cause the bottom takes more dough to cover. So when you roll it out, do it on a piece of waxed or parchment paper - easier to flip into the pie pan then. Put some flour down to prevent sticking. Roll that sucker out and make sure its a couple inches bigger than the diameter of the pan. I usually place the pie pan on top of the crust and then flip. Press down the edges against the pan, and then fill with the blueberry mixture. Top with a couple tablespoons of flour or corn starch to prevent runniness after baking. Roll out the top and flip that guy on top, seal the edges, cut slits in the top, and you're good to go. I usually take the pie out a few minutes before its done and brush the top with melted butter and sprinkle a little sugar on top. Everything's better with sugar on top.


Gups’ Blueberry Pie
crust recipe from Crisco

For double crust:
2 cups Pillsbury BEST® All Purpose Flour
1 teaspoon salt
3/4 stick well-chilled Crisco® All-Vegetable Shortening Sticks
* OR 3/4 cup well-chilled Crisco® All-Vegetable Shortening
4 to 8 tablespoons ice cold water

For blueberry filling:
4 cups blueberries
3/4 cup sugar
5 TBS. flour or corn starch
1/2 tsp. ground nutmeg or cinnamon
dash salt

1 tsp. lemon juice.
1 TBS. butter.

BLEND flour and salt in medium mixing bowl.

CUT chilled shortening into 1/2-inch cubes. Cut in chilled shortening cubes into flour mixture, using a pastry blender, in an up and down chopping motion, until mixture resembles coarse crumbs with some small pea-sized pieces remaining.

SPRINKLE half the maximum recommended amount of ice cold water over the flour mixture. Using a fork, stir and draw flour from bottom of bowl to the top, distributing moisture evenly into flour. Press chunks down to bottom of bowl with fork. Add more water by the tablespoon, until dough is moist enough to hold together when pressed together.

SHAPE dough into a ball and divide in two, one ball slightly larger than the other. Flatten ball(s) into 1/2-inch thick round disk(s).

TIP For ease in rolling, wrap dough in plastic wrap. Chill for 30 minutes or up to 2 days.

ROLL dough (larger ball of dough for double crust pie) from center outward with steady pressure on a lightly floured work surface (or between two sheets of wax or parchment paper) into a circle 2-inches wider than pie plate for the bottom crust. Transfer dough to pie plate by loosely rolling around rolling pin. Center the rolling pin over the pie plate, and then unroll, easing dough into pie plate.

For a DOUBLE pie crust, roll larger disk for bottom crust, trimming edges of dough even with outer edge of pie plate. Fill unbaked pie crust according to recipe directions. Roll out smaller dough disk. Transfer dough carefully onto filled pie. Trim edges of dough leaving a 3/4-inch overhang. Fold top edge under bottom crust. Press edges together to seal and flute as desired. Cut slits in top crust or prick with fork to vent steam. Bake according to specific recipe directions.

Combine ingredients for blueberry filling.

Line pie plate with pastry dough. Fill with blueberry filling mixture. Sprinkle with lemon juice. Dot with butter. Adjust top crust over mixture, cutting slits for steam to escapes. Seal and crimp edges.

Bake at 400 degrees for 35 to 40 min.

(Servings: 6-8, Prep time: 1.5 hrs., Cook time: 45 min., Difficulty: Easy)

Friday, June 25, 2010

Homemade Corn Tortilla Chips (and salsa)

Special Guest Bloggers…The Darnall Sisters!

I couldn't be more excited to introduce you to the Darnall sisters.  Look them, aren't they cute?:

They embarked on their very own culinary adventure and I wanted to share it with you.  Nicole (left) is my bff and roomie from college.  She is a true foodie and can make a mean side of green beans.  In college, I could always count on her for sushi night.  Shelly (right), is Nicole's little sis and loves to cook (she is a big fan of Dave Lieberman).  She has great taste in food and was the one to introduce me to kosher dogs (my one true love).  So, here is their story:

Voice of Nicole:

The idea to make homemade tortilla chips originated from our herb garden. Several months ago, Shelly ever -so -nicely planted an herb garden containing rosemary, chives, cilantro and green beans.  Today, the garden is totally OVERRUN with cilantro. I mean, it’s like a cilantro forest out there.  Soooo…I asked,“What can we do with all this cilantro?” Shelly said, “Let’s make salsa! I have corn tortillas, we can make our own chips!”


I will admit, I was a bit skeptical about making our own chips.  What if the salsa was amazing, but the chips were awful? Then what would we do? We decided to go for it.

The recipe calls for peanut oil to fry the tortillas in. I found peanut oil from 2008 in the pantry. Naturally, I g-chatted Shanon with this cooking dilemma. She said to ditch the 2008 peanut oil and just use regular old veggie oil. Sold.

We don’t have a deep fryer or anything, so we just heated up the oil in a small frying pan.  When we were sure it was hot enough (tested it with a small piece and it sizzled) we threw several slices of tortilla in there. To my amazement, they started to sizzle and cook immediately! Be sure to watch them good, they brown up real fast. Also, we used a flipper thing to turn them over and brown the other side.


Caution: make sure your kitchen is well ventilated when you start this process. We had the fan on over our stove AND windows open and two days later-the house still smells like the back of a McDonalds. Its getting better, but it seriously smelled gross after. 

We just seasoned the chips with kosher salt right away as they came out of the oil. They stay hot and sizzle for a while, so we put them on paper towels to cool.

I’m not going to expand about the salsa as I did not participate in making it. But Shelly said it was really easy and it did taste amazing. I think she used less onion then it called for.

Shelly chimes in:

A little bit about the salsa, it’s just your typical pico variety. 4 plum tomatoes, ¼ big white onion (I don’t like red onions, but choose your favorite), cilantro (I used plenty), ½ jalapeno (I would use more next time, I like spice), pressed garlic clove, juice of a whole lime and s & p. Done.  J 

Back to Nicole:

Oh, and did you know that you can freeze cilantro? I did not know this. Shelly did. Since we have that forest in our back yard, Shelly cut a bunch of it up and froze with some water in an ice cube tray. She said that later we can just thaw out the cubes and dry out the cilantro to use it. Crazy!

Here are the recipes.

Saturday, March 27, 2010

Monster Cookies - Sea Level Experiment

Guess what? My mother-in-law took me up on the monster cookie experiment! (see my original Monster Cookie post) See below for her message and the results!

Hi Shanon,

I conducted the cookie experiment this morning. Made the Monster cookies with flour & without. See the progression of pictures. It was fun! Clearly, the cookies without flour were better at our altitude. Those with flour were more crumbly & less tasty. Those without the flour were chewy & the peanut butter flavor was strong. Without flour, they were flatter, but still had a great cookie look.

Your Father-in-law & Uncle appreciate your asking for this experiment!

Love,
M

The judges:

Sounds like it may be the elevation!